DIY Shower Sealing: A Simple Guide to Keep Your Bathroom Water-Resistant

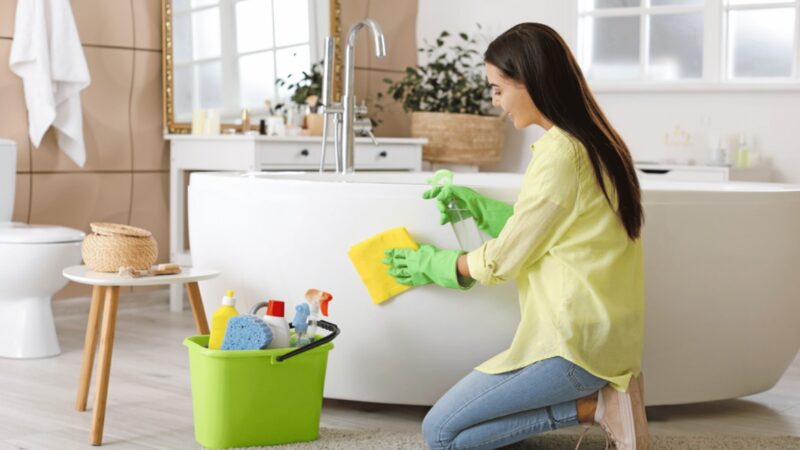
Tired of dealing with annoying shower leaks? Frustrated by the thought of costly repairs? Good news – you can seal your shower on your own! This step-by-step guide breaks down the process into easy, manageable tips to ensure a water-proof bathroom. Let’s get started.
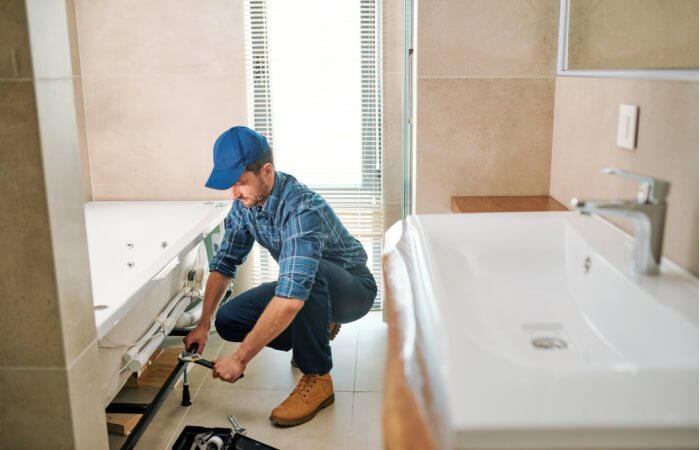
1. Identify the Problem Areas:
Before you dive into sealing, pinpoint where your shower is vulnerable. Look for signs of leaks, such as water stains, peeling paint, or mildew. Common culprits are corners, joints, and seams where tiles meet. Once you’ve identified these areas, you can focus your efforts where they matter most.
2. Gather Your Supplies:
For this project, you won’t need a ton of fancy tools. Just grab a high-quality shower caulk or sealant, a caulking gun, a putty knife, and a gentle cleaning solution. These simple tools will make a world of difference in keeping your bathroom leak-free.
3. Clear the Way:
Start with a clean canvas. Remove any old caulk or sealant using a putty knife. Give the surfaces a good cleaning with a mild solution to ensure there’s no grime or residue left behind. A clean surface is crucial for the new sealant to adhere properly.
4. Choose the Right Sealant:
Not all sealants are created equal. Pick one specifically designed for bathroom use – these are often mold-resistant and waterproof. Silicone sealants are a popular choice for their durability and flexibility, making them ideal for areas prone to movement.
5. Apply with Care:
Load the chosen sealant into the caulking gun and cut the tip at a 45-degree angle. Apply the sealant along the trouble spots – joints, corners, seams, and around fixtures like faucets and handles. Take your time to ensure an even application, and don’t be afraid to be a bit generous.
6. Smooth it Out:
Once the sealant is applied, use a wet finger or a caulk smoothing tool to create a neat finish. This not only enhances the appearance but also ensures a snug seal. Remove any excess sealant for that polished, professional look.
7. Give It Time to Cure:
Resist the urge to jump into the shower right away. Allow the sealant to cure as per the manufacturer’s instructions – usually 24 to 48 hours. This waiting period ensures that the sealant sets properly, providing robust protection against leaks.
Tips to Keep in Mind:
- Regular Check-ups:
Don’t wait for a problem to resurface. Inspect your shower sealant annually, looking for cracks or signs of wear. A little proactive maintenance can go a long way.
- Use the Right Stuff:
Stick to sealants designed explicitly for bathrooms. They are formulated to withstand the unique challenges posed by a wet environment, ensuring long-lasting protection.
- DIY Confidence:
You don’t need to be a pro to handle this. Many homeowners successfully seal their showers with a DIY approach. It’s a cost-effective way to maintain your bathroom and gain a sense of accomplishment.
By following these straightforward tips, you can bid farewell to those pesky shower leaks and hello to a bathroom that stays blissfully water-resistant. Sealing your shower doesn’t have to be a daunting task – with a little know-how, you can enjoy a leak-free oasis in the comfort of your home.